|
3/24/2021 0 Comments Wild Preserved LemonsFermentation is a means of preserving, of enhancing and shaping flavors, of breaking down and building up. In breaking down - is the process of naturally existing bacteria permeating, evolving and 'composting' food in an anaerobic (without oxygen) environment. After weeks to months of 'breaking down' we are left with a food containing more bioavailable nutrients. The gut-loving bacteria present in fermented food aid in 'building up' our digestive health.
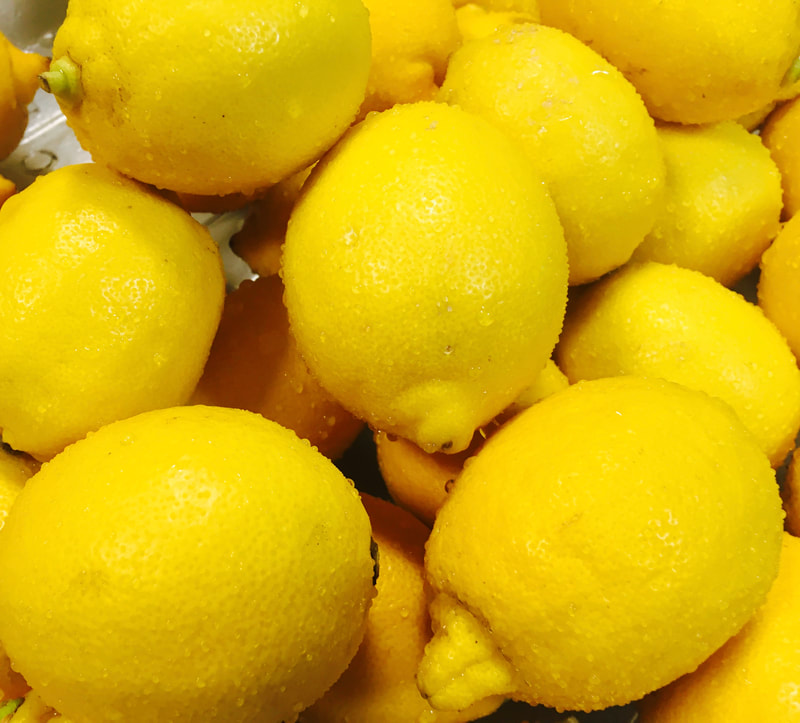
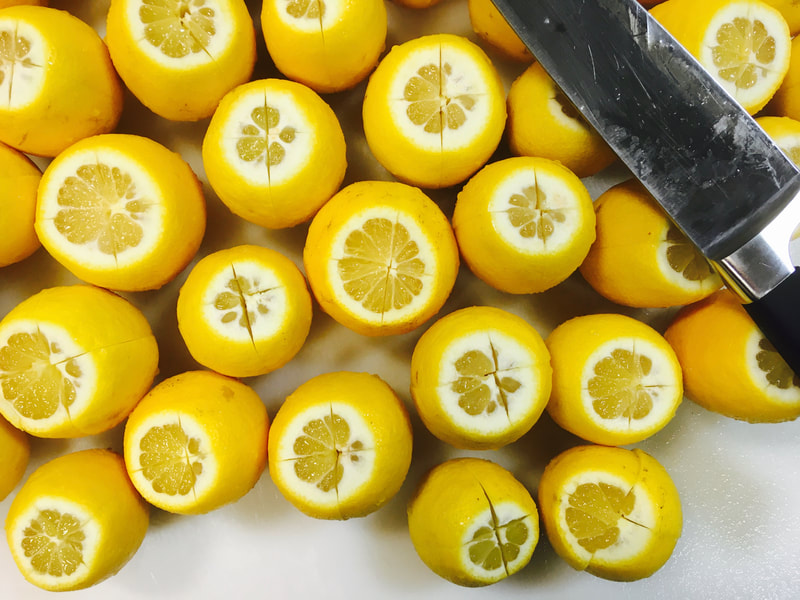
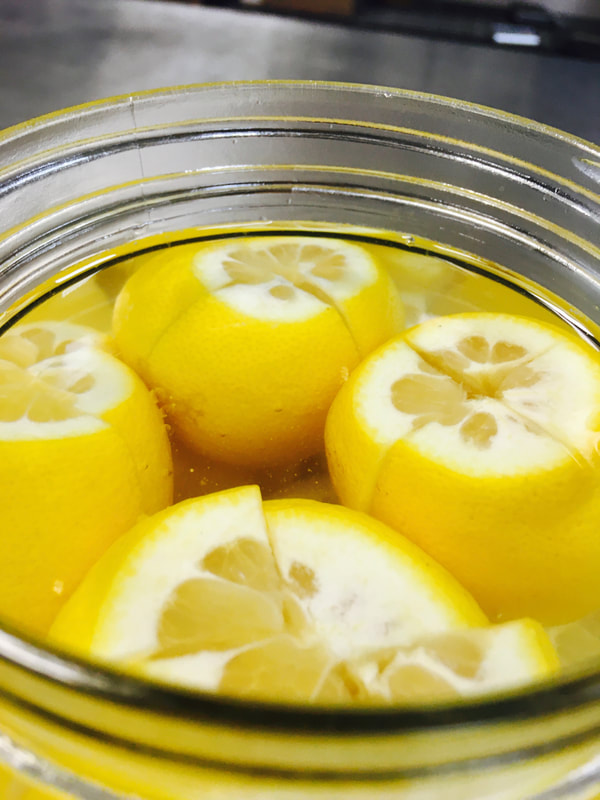
Fermenting was a passion long before it was also our business. The process, the flavors and the health benefits leave us looking at every food item for its 'fermentability'. Are we coining a term here?! Every year we ferment a gallon or two of lemons to add to drinks, salads, dressings, grilled fish and roasted vegetables. For those new to fermentation, it doesn't get any easier than this! Prep Time: 15 minutes Ferment Time: 2 weeks to months Ingredients: Lemons Sea Salt or Himalayan Salt Dechlorinated water (we use reverse osmosis water which removes much of the chlorine) Equipment: Sanitized jar with screw top lid or swing top (with gasket) Pitcher or other that can hold at least 2 quarts of water We find wide mouth canning jars work great for small batch ferments. This batch of lemons was a gallon jar. 1/2 gallon and gallon jars with wide openings and tapered tops work great. Sanitize your jar and lid in a bleach solution for a couple minutes and let dry. Mix 45 grams of salt per quart of water in a pitcher and stir to dissolve the salt. A gallon jar will hold 10-14 lemons depending on size. Wash and dry the lemons. Cut both ends of the lemon off to the flesh then cut the lemon into quarters about 2/3 of the way down to the base (leaving them still fully connected). Pack them in your sanitized container in layers, so they are snug side by side. Orient your top layer of lemons so their is still 1-2 inches of headspace. If you are using a straight sided jar and the lemons aren't snug, simply cut additional wedges of lemon to pack around until the top layer is tight and won't float to the surface. Pour the salt brine over the lemons and mix more brine to cover your lemons, leaving about 1/2" - 1" of space from the water to the lid. If you've an airlock lid setup use that. It will take the added step of burping the lemons out of the equation, but is not necessary. Place the lemons in a space where the temp is reasonably constant, kitchen counter or cupboard is just fine. A catch tray (sheet pan or bowl) for particularly active batches isn't a bad idea either to eliminate the possibility of overflow. You will start to see bubbles forming 2-3 days into the process. Release a little of the trapped gas briefly every couple days or as need be, by slowly turning your lid until the bubbles slow or cease. Much of the heavy fermenting happens in the first weeks. You can leave the lemons for months to break down the bitter peel or simply move the lemons to the fridge when the 'active' stage is over. The finished lemon is great sliced and added to fish, hummus or pureed into dressings. We find ourselves often adding slices to sparkling water and tea. Other lemon ferment additions that have been good: Mint Ginger Chili Peppers Hope you enjoy this one and feel free to share your love of fermented lemon!
0 Comments
|
Site |
Company |
|


 RSS Feed